So of course when your son asks for something special, it doesn't matter what else is on the schedule...I said I would make it! But there wasn't time to make a real quilt, so I fell back on 2 grand traditions: Strip piecing and "Summer spreads" (like a quilt but no batting layer).

After that, I randomly cut strips between 1.5" and 3" in width. The idea was to make something all white...but still show a lot of texture with the seams and slight differences among the whites.
For the foundations, I used pages from the Sunday newspaper sales flyers! It's lightweight and tears away easily. I cut them into 10.5" squares, as that is the largest size I could get from the most flyers.

Each square starts with a strip going diagonally, right side up.
Then lay another strip on top, with the right sides facing, and sew all the way to the end of the paper.
Don't bother to measure anything...just cut off the extra length.
Don't bother to measure anything...just cut off the extra length.


Strip or string piecing is a wonderful way to use up scraps...and I must admit it bugged me to be "wasting" so much fabric that I bought just for this project!
Trim to the edge of the paper foundation, if you cut it a certain size. There is enough excess fabric here that I could have cut the blocks a bit larger, if I had wanted. Like maybe adding a forgotten seam allowance?

I trimmed the top and right side, using the ruler's edge, then turned the block around to finish the other two sides. The tape is marking where to line up the trimmed corner before making the second cut.

The paper comes off fairly easily if you fold it back and crease it before tearing.
And it helps a lot if you remember to sew all the strips with a shorter stitch!
The blocks are sewn together as with any quilt blocks. The seams are not intended to be matched...in fact, I don't think they could be!
All the seams can be set to run the same direction, or they can be set to alternate, which looks like an X or a diamond.
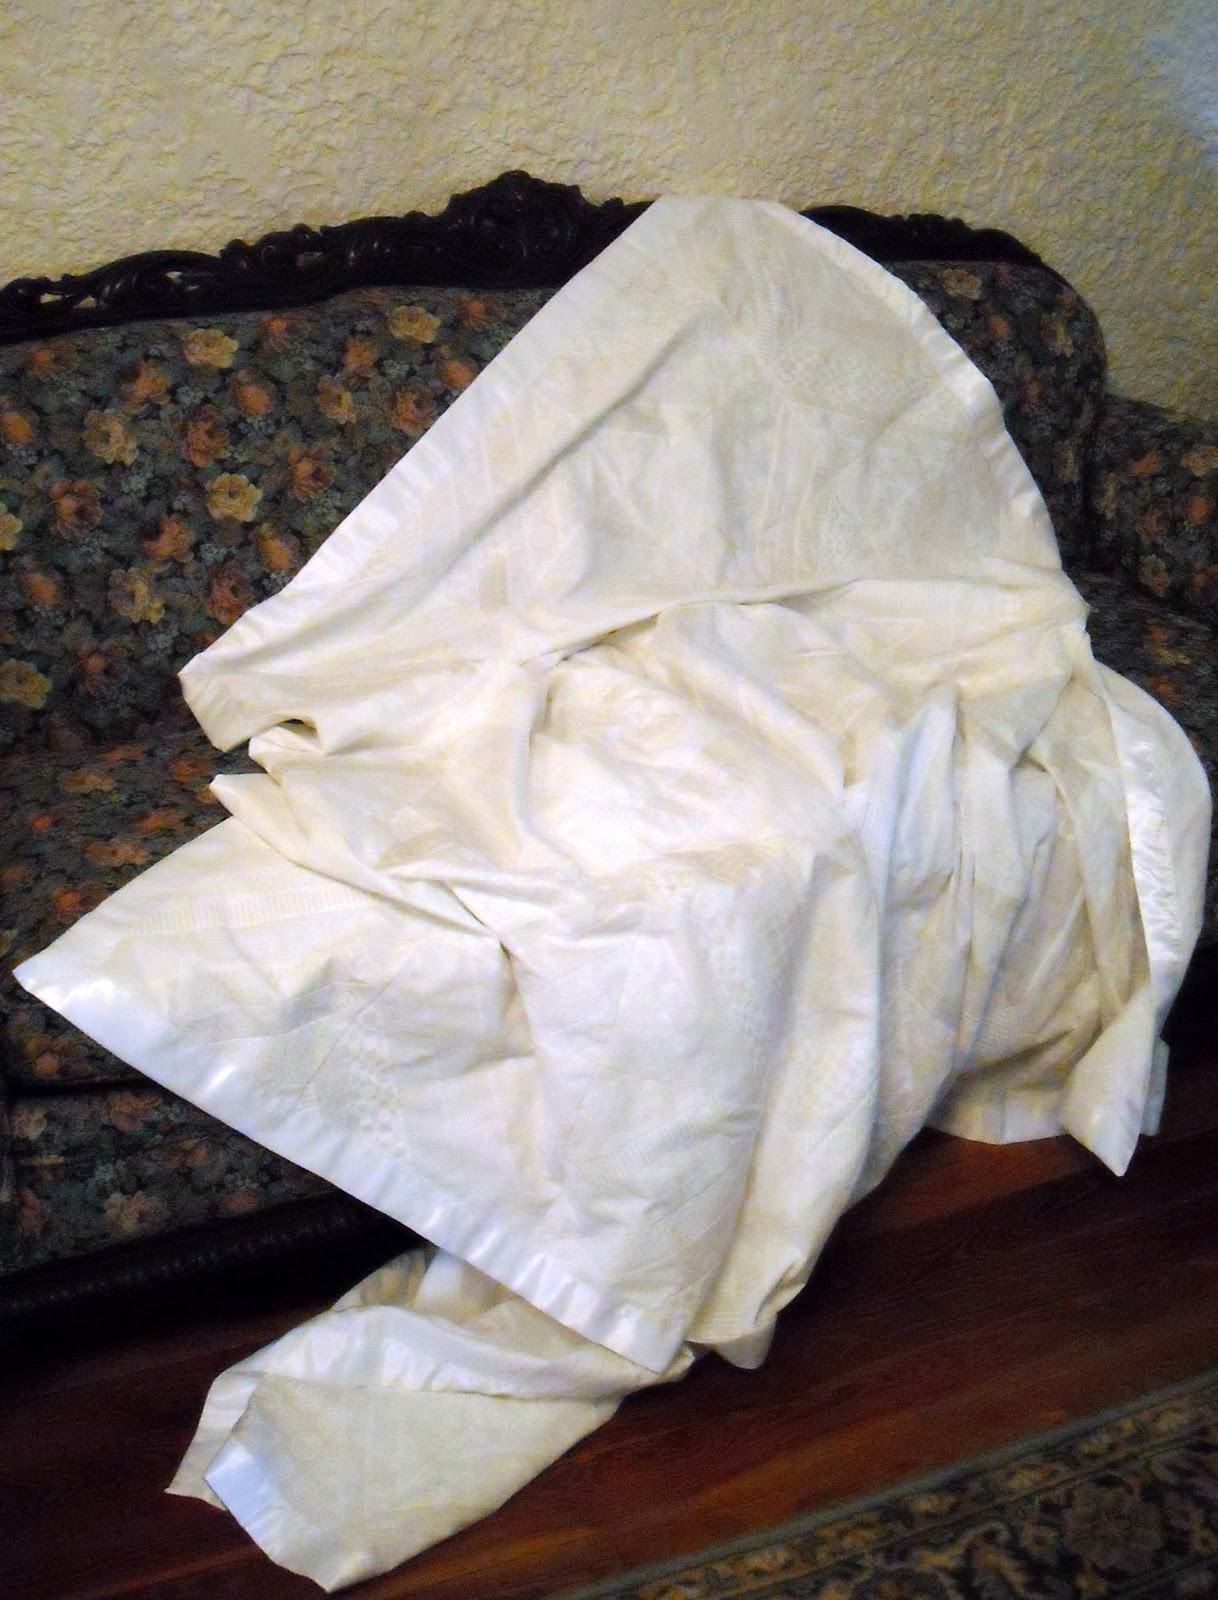
And beacuse it was to be part of the Blanket Ceremony, I finished the edge with a white satin blanket binding.

But I'm pleased with this, even if it is a lot more subtle than my usual work.

The white blanket's future is unknown at this time.
It might just stay as it is. Or I might take it apart and use it as a background for some appliques, and then quilt it with colorful thread!
Only time will tell.
1 comment:
It's not a gift to the kids.......or could be used, sometime in the future, for a baby blanket or 2!!!
Gay
Post a Comment